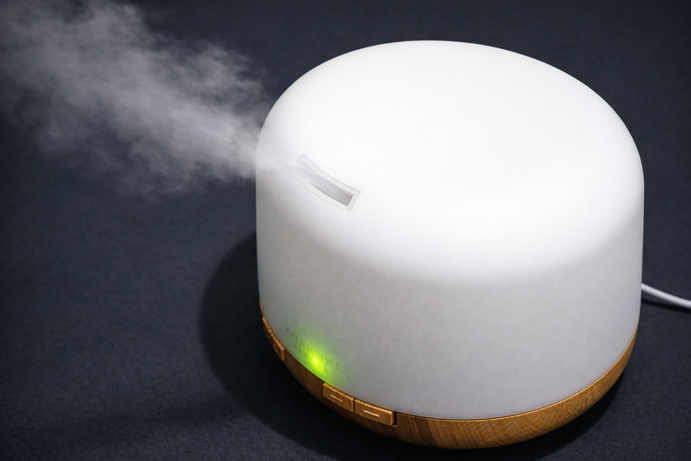
Your diffuser is putting out weak mist, smells faintly of last week’s eucalyptus, or has stopped working as well as it used to. The fix is usually straightforward. A build-up of essential oil residue and mineral deposits on the ultrasonic plate is the most common cause of reduced performance, and it responds well to a simple cleaning routine. This guide covers how to clean an ultrasonic diffuser properly, including the weekly rinse, the monthly deep clean, and the one component most other guides overlook.
Why Cleaning Your Diffuser Matters
Ultrasonic diffusers work by vibrating a small metal disc (the ultrasonic plate) at very high frequency to break water and essential oil into fine mist. When oil residue or mineral deposits from tap water build up on that disc, the vibration becomes less efficient. The result is decreased mist output, off-smelling diffusion as old oil residue mixes with whatever you’ve just added, and in some cases the diffuser stops misting entirely despite appearing to function normally.
The fix is straightforward once you know what you’re maintaining. Most diffuser cleaning guides treat it as a single task, but there are really two separate routines worth knowing. These are a quick weekly rinse for regular users, and a monthly deep clean that addresses the ultrasonic plate directly.
What You’ll Need
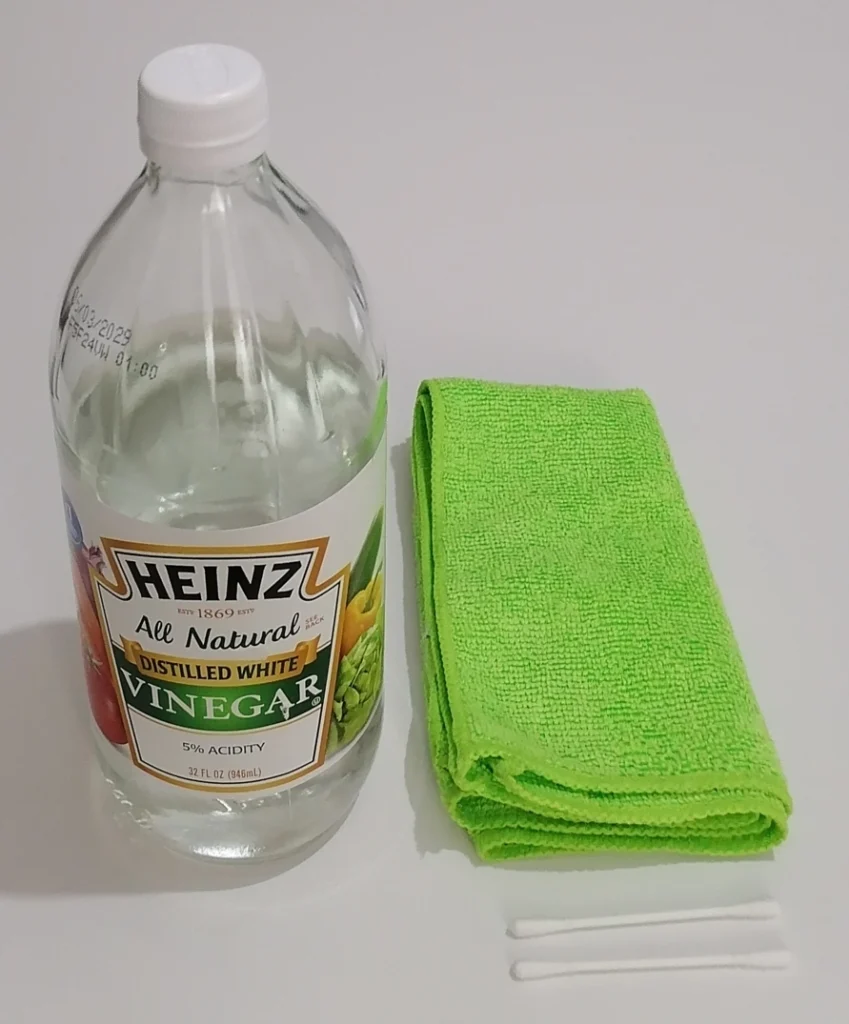
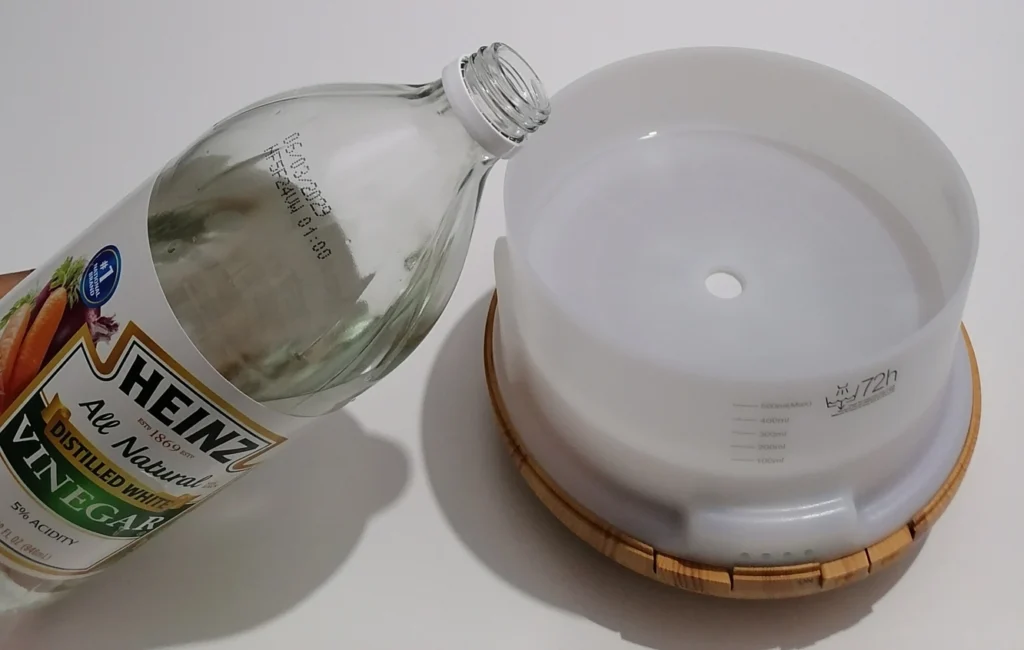
- White distilled vinegar (Heinz or any standard household brand)
- Cotton swabs
- Soft cloth or paper towels
- Clean water (filtered or distilled if your tap water is hard)
That’s it. You don’t need specialist diffuser cleaning products. Regular white vinegar you probably already have in your kitchen handles both the oil residue and the mineral deposits effectively. Use white distilled vinegar specifically. Apple cider vinegar contains additional compounds that can leave their own residue and smell in the tank.
Weekly Clean: The Quick Rinse
If you use your diffuser daily or near-daily, a weekly rinse prevents residue from accumulating to the point where it affects performance. This takes around ten minutes including run time.
Step 1: Empty the Tank
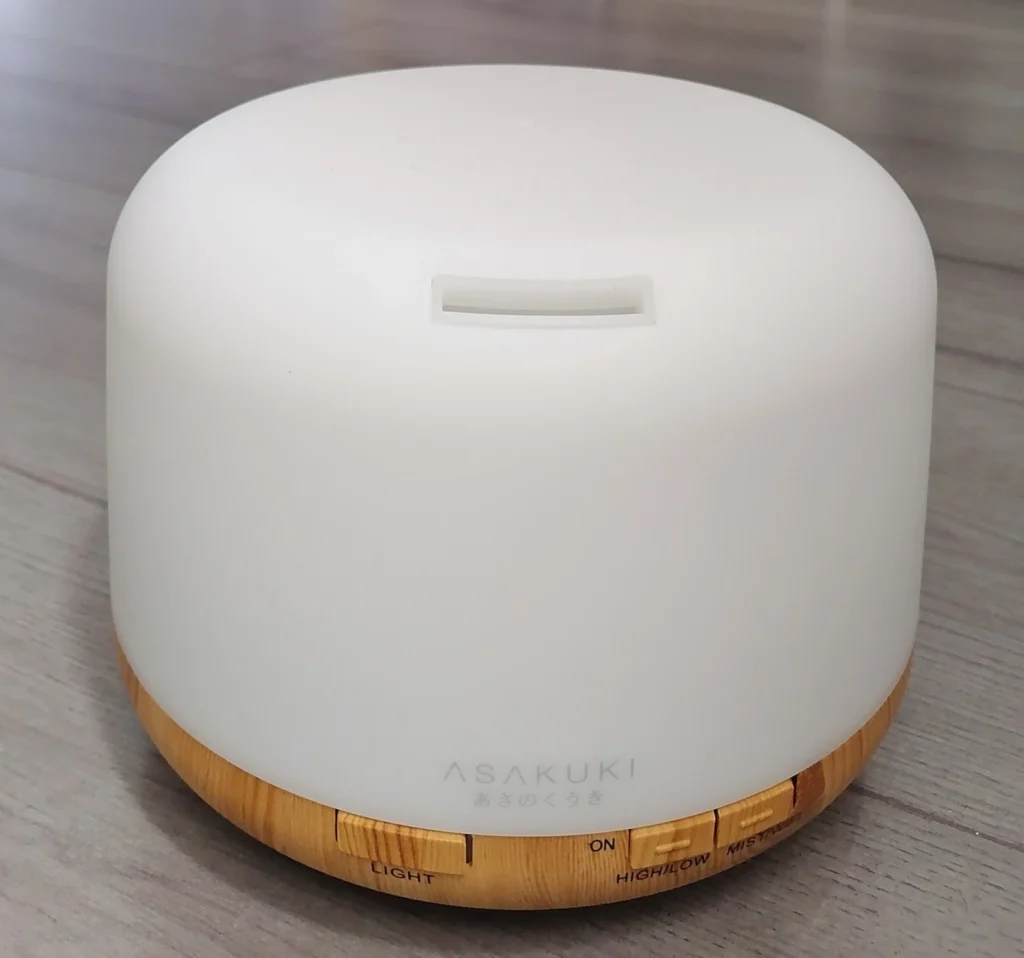
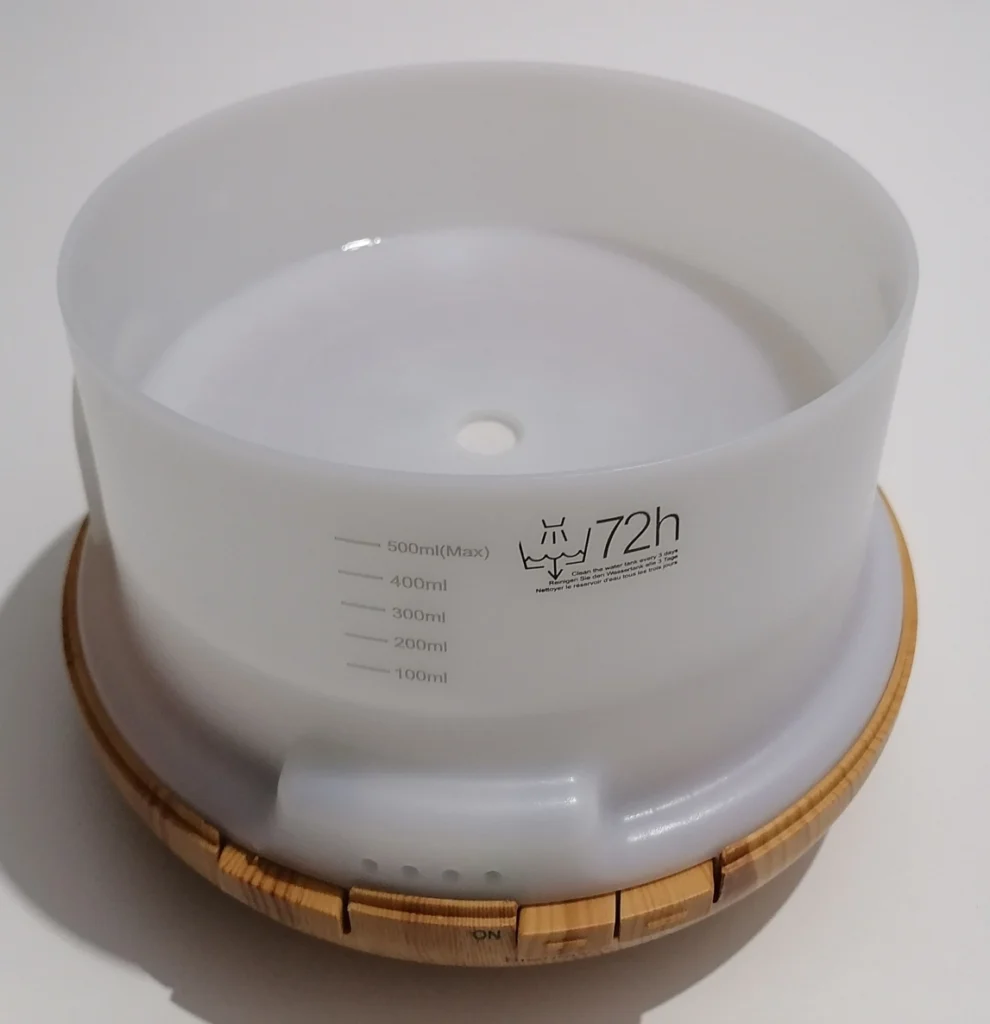
Unplug the diffuser first. Pour out any remaining water, tilting carefully to avoid getting water into the air outlet vent. Some diffusers have a defined pour side. Check your manual if you’re unsure. For the ASAKUKI, the wide-mouth opening makes emptying easy without needing to tilt sharply.
Step 2: Add Water and Vinegar
Fill the tank halfway with clean water, then add about 1 teaspoon (or 10-15 drops) of white vinegar. This is a small quantity from a standard household bottle you’ll use for many other purposes.
Step 3: Run for 5-10 Minutes
Replace the lid and run the diffuser on low mist for 5-10 minutes. This circulates the vinegar solution through the mechanism and across the ultrasonic plate, loosening residue without any scrubbing required.
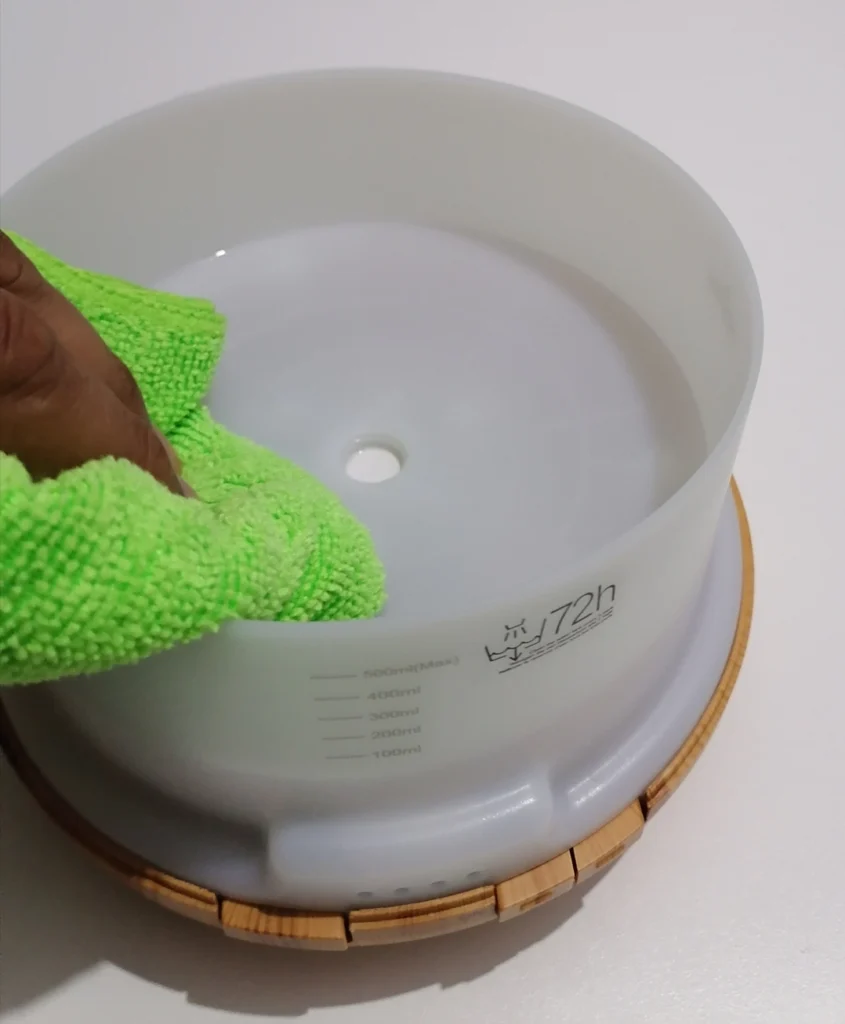
Step 4: Empty, Wipe and Rinse
Pour out the vinegar solution, then wipe the interior walls of the tank with a soft cloth or folded paper towel. Pay attention to the waterline area where oil residue tends to concentrate. Rinse with clean water once, then wipe dry.
Between weekly cleans, running the diffuser on plain water for 10-15 minutes after a session is a quick way to flush residual oil without a full vinegar clean. It won’t replace the weekly routine but still helps reduce some of the build-up between proper cleans.
Smart diffuser tip: If you use a scheduled diffuser like the ASAKUKI or another app-controlled model, build the weekly clean into your routine by checking it on the same day you refill the tank. The ASAKUKI’s tank has a cleaning reminder printed inside (every 72 hours for daily users), which aligns with ASAKUKI’s official guidance warning that standing water can create conditions where bacteria and mold may develop over time if the tank isn’t cleaned properly on that schedule. It’s an especially useful prompt if you tend to top up rather than fully empty between sessions.
Monthly Deep Clean: The Ultrasonic Plate
The weekly rinse handles general residue, but the ultrasonic plate itself benefits from direct attention once a month. This is the small metal disc at the bottom of the water chamber, the component actually responsible for generating mist, and it’s what most cleaning guides skip.
Step 1: Empty and Unplug
Same starting point as the weekly clean. Make sure the diffuser is unplugged and the tank is fully emptied before touching the plate.
Step 2: Clean the Plate with Rubbing Alcohol
Dip a cotton swab in rubbing alcohol (isopropyl alcohol) and clean the surface of the ultrasonic plate using light circular motions without applying pressure. You’re removing the oil film that vinegar alone may not fully address after extended use. The goal is to dissolve the residue, not scratch it. One or two cotton swabs with gentle contact is all that’s needed.
If you can see visible discoloration or a yellowish film on the plate, that’s oxidized essential oil residue. It often responds well to the alcohol treatment. A clean plate restores full mist output and gives you a stronger, truer scent without needing to add more oil to compensate. Avoid corrosive detergents or solvents elsewhere in the tank. Rubbing alcohol is specifically for the plate itself, used sparingly.
Step 3: Wipe Down the Tank Interior
While you have the diffuser open, lightly wipe around the plate and residue areas with alcohol if needed, avoiding prolonged contact with plastic surfaces unless manufacturer guidance allows it. Pay attention to corners and the area around the plate where residue tends to collect.
Step 4: Rinse and Dry Thoroughly
Rinse the tank with clean water to remove any alcohol residue, then wipe dry with a clean cloth. Leave the lid off for 15-20 minutes before refilling to ensure everything is fully dry before running again.
Cleaning Schedule at a Glance
| Frequency | Task | Time Required |
|---|---|---|
| Every 3 days (daily users) | Empty and rinse tank | 2–3 minutes |
| Weekly | Vinegar rinse cycle | 10 minutes |
| Monthly | Ultrasonic plate deep clean | 20 minutes (plus 15-20 minutes drying time) |
| When switching oils | Quick wipe between scents | 2 minutes |
Common Mistakes That Shorten Diffuser Life
Topping Up Instead of Emptying
Adding fresh water and oil on top of what’s already in the tank is the single most common cause of residue build-up. Old water sitting in a diffuser between sessions starts to develop a stale smell and leaves a film when the next session runs. Empty the tank fully each time you refill.
Using Carrier Oils or Fragrance Oils
Carrier oils like coconut or jojoba and synthetic fragrance oils are too thick for ultrasonic diffusers. They don’t disperse properly in water and leave heavy residue on the plate that’s much harder to remove than standard essential oil film. Over time, this may permanently impair mist output. Use only 100% pure essential oils with water. Our essential oils guide covers what to look for on the label and which brands are reliably pure.
Overfilling with Oil
More drops doesn’t mean stronger or better diffusion. Excess oil leaves heavier residue faster and can actually reduce mist quality during the session itself. Stick to the 3-5 drops per 100ml baseline and adjust from there based on your preference. For a 500ml tank like the ASAKUKI, that’s 15-20 drops maximum.
Using Dish Soap
Dish soap seems like a logical cleaning agent to use, but causes problems in diffuser mechanisms. Soap residue is difficult to rinse fully from the tank and ultrasonic plate, and can cause foaming during the next diffusion session. Vinegar and rubbing alcohol are the right tools for this. Nothing else is needed.
Leaving Water in the Tank Between Sessions
If you’re not using your diffuser daily, empty the tank after each session rather than leaving water sitting in it. Stagnant water in a diffuser tank creates conditions for mold and bacterial growth, which cleaning can address but prevention is always better than cure. For scheduled smart diffusers running on automated routines, make a habit of checking the tank before each refill rather than assuming it’s empty.
Troubleshooting: When Cleaning Doesn’t Fully Fix It
Weak Mist After Cleaning
If mist output is still weak after a deep clean, check the water level first. Ultrasonic diffusers need the plate fully submerged to function properly. If the water level is fine, the issue may be mineral scale from hard tap water that requires a slightly longer vinegar soak. Fill the tank with a 50/50 water and vinegar mix, let it sit for 30 minutes without running, then empty and rinse thoroughly. Avoid soaking beyond 30 minutes, and check your manual if your diffuser has manufacturer-specific limits on cleaning solutions.
Persistent Off-Smell
A lingering smell after cleaning usually means oil residue has built up over time rather than a single session. Run two or three consecutive vinegar cleaning cycles and follow with a deep clean of the plate. If the smell persists, it may be coming from the air outlet rather than the tank. Wipe the outlet area with a cloth dampened with alcohol.
Diffuser Not Misting At All
Before assuming the diffuser is faulty, check that the ultrasonic plate isn’t completely coated with mineral scale. This is known to prevent it from vibrating entirely. A thorough plate clean with alcohol followed by the vinegar soak method above resolves this in many cases. If the diffuser still won’t mist after a full clean, check the manufacturer’s troubleshooting guidance, as some models have a reset procedure for the ultrasonic mechanism.
Hard Water vs. Soft Water: Does It Make a Difference?
Yes, noticeably. Hard water leaves mineral deposits (limescale) on the ultrasonic plate faster than soft water. If you’re in a hard water area, consider using filtered or distilled water in your diffuser, as this reduces mineral build-up considerably between cleans, and extends the interval before the plate needs direct attention.
Hard water is common in many parts of the United States, so plenty of readers will see mineral build-up faster than the standard schedule suggests. A basic water filter jug is an inexpensive solution that makes a real difference to diffuser longevity.
The Sweet Smell of Maintenance
There’s a version of aromatherapy that works exactly as intended – lavender that smells like lavender, mist that fills the room evenly, a diffuser that starts on schedule and runs quietly through the night. And then there’s the other version, where the scent feels slightly off, the output is thin, and adding more oil becomes the default response.
That shift rarely comes from the diffuser itself. It builds gradually, as residue and mineral deposits interfere with the surface doing the real work. A proper clean restores that baseline. Mist output improves, scent becomes clearer, and the need to compensate disappears.
If your diffuser hasn’t been performing the way you expect, start by resetting it, not replacing it.